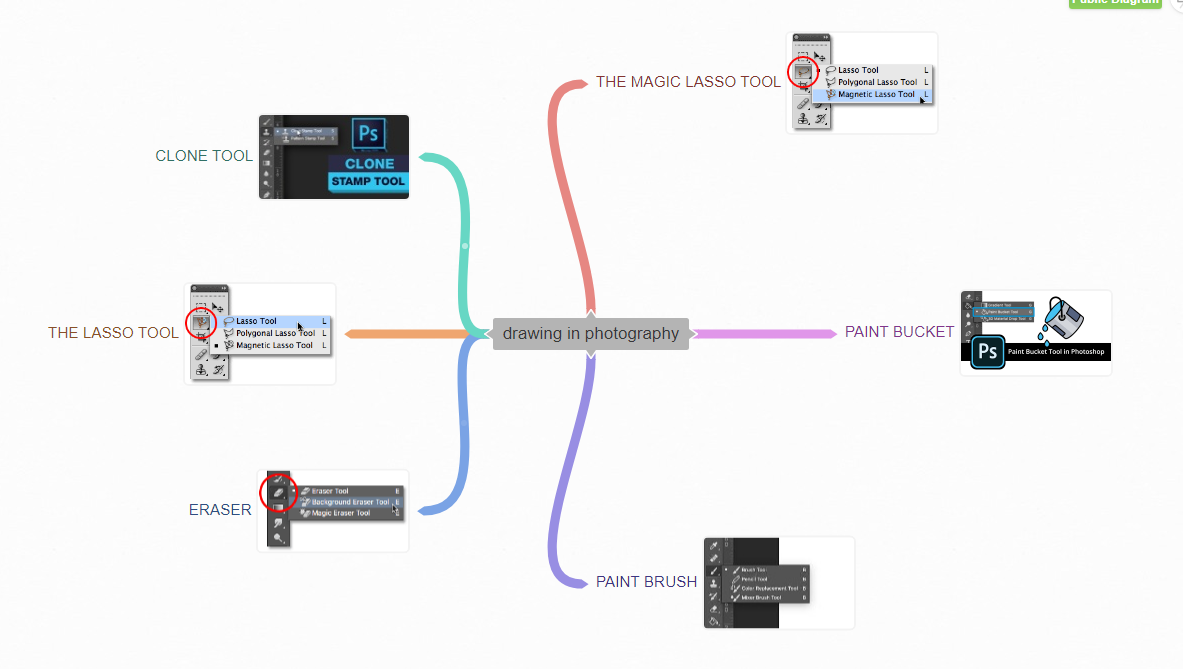
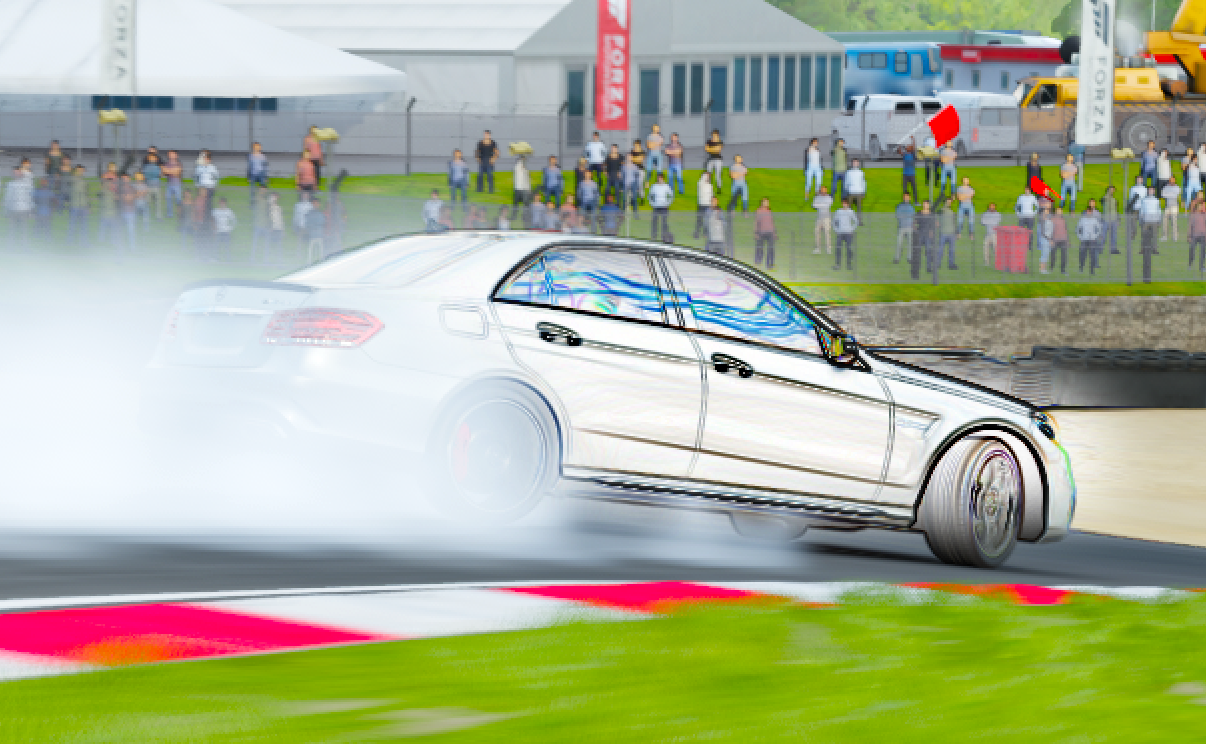
The Lasso Tool
The Lasso Tool is the most basic version you can use. By clicking on a starting point in your canvas, simply drag your cursor around your object to create a path. The Lasso Tool will follow your mouse's exact movements all the way back around to the starting point.
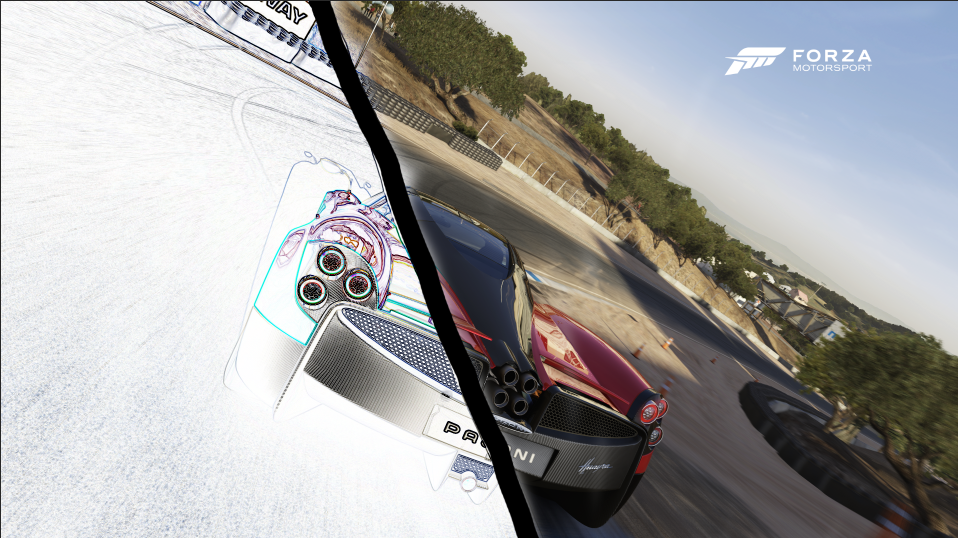
The magic Lasso Tool
The Magnetic Lasso Tool is one of three lasso tools in Photoshop. We've already looked at the first two - the standard Lasso Tool and the Polygonal Lasso Tool - in previous tutorials. Like the Polygonal Lasso Tool, the Magnetic Lasso Tool can be found nested behind the standard Lasso Tool in the Tools panel.
paint bucket
If you can't find the Paint Bucket tool, click and hold the Gradient tool to show the other related tools, and then select the Paint Bucket tool. In the tool options bar, choose to fill the selection with the foreground color.
paint brush
It's easy to use the Brush tool to paint in your document. Simply locate and select the Brush tool from the Tools panel, then click and drag in the document window to paint. You can also press the B key on your keyboard
eraser
Go to the Layers panel and choose the layer that contains the areas you want to erase. Hold down the Eraser tool and choose Background Eraser when the menu pops up. Choose a brush and adjust settings for size, hardness, angle, roundness, and spacing.
clone tool
The Clone Stamp is effective when you need to copy exact detail and color from one part of an image to another area. With the Clone Stamp tool, you can use an empty layer to keep your retouching separate from the main image.
drawing with light
Light painting, also known as light drawing, is a photographic technique by moving a light object like a candle, flashlight, glow stick etc. in front of camera, whilst taking a long exposure photograph. Note, it is preferable in an absolutely dark room. however you can make it outside at night, but the background will not be black. you can be creative in many ways like experiments with colors, shapes and designs
what you need
LED Hybrid Light
• Tracing Paper
• Colored Film Gels or colored tissue paper
• Clear Tape
• Tripod
• Wireless Shutter Remote Control Release
• Camera with “bulb mode” function
what to do
1. Prepare your light painting device. used a Flashlight. and wrapped it in a folded sheet of tracing paper to defuse the light. so just used a little piece of red tissue paper over the tracing paper to give a colored tint to the light. This step is optional.
2. Set up your camera. Attach your camera to a tripod in a dark space. you can do this anywhere your house your bedroom area 51 your choice in the late evening. If you don’t have a tripod, just place the camera on a stable surface, like a table or bench or if your in America your gun grip
Attach the wireless remote to your camera and turn it on. Turn your camera to the B or Bulb Mode. set your exposure settings to ISO 100 with an aperture of f/7.1. The shutter will remain open for as long as you need to paint your picture. You’ll control that with your wireless shutter. For the focus, I had some random guy stand in front of the camera, holding the flashlight. I focused on him and then changed the focus setting to manual.
3. Paint! Turn off all the lights in the room. When your subject is ready to start painting push the remote shutter release. This opens up your shutter. Now, paint your words, shapes or just go crazy with the flashlight. When you’re done, push the remote button again. This closes the shutter and stops the exposure. and look at the monster you created


rolls royce outline


rimac galf colour half not


ideas in photoshop


